Putting tickets on sale takes an afternoon. Fixing a sale that was set up in a hurry takes the rest of the month. This is the checklist we run through for our own events before a link goes anywhere.
1. Decide what you're selling
Start with ticket types, not prices. Early bird, standard, VIP, student, group: each type should change something real for the buyer, like the price, the entry time or what's included. If two types differ only in name, merge them.
- Give every type its own price and its own quantity.
- Decide now whether the event is free, paid, or both. Free registration still needs a ticket so you know who's coming.
- Write the type names the way buyers say them at the gate.
2. Set your limits before you open sales
Two numbers protect you: the total you can actually hold, and how many tickets one person may buy. The first is the venue's capacity minus guests and crew. The second stops one buyer from emptying a free event or reselling a popular one.
3. Write terms people will read
Most disputes at the gate are about something the buyer never saw: the refund rule, the age limit, the entry cut-off, what ID to bring. Put those first, in plain language, and number them so your crew can point to one.
4. Ask only what you need at checkout
Every extra question costs you buyers. Ask for the details you'll actually use on the day, such as T-shirt size, company name for a conference badge, or an emergency contact for a run, and nothing else.
5. Make checkout work on a phone
Most of your buyers will arrive from a link on WhatsApp or Instagram, on their phone, in the middle of something else. A checkout that asks them to create an account and remember a password loses them. One that confirms their number and takes UPI keeps them.
6. Promote one link everywhere
Use the same event link on your posters, stories, bios and group messages, so every buyer lands on the same page with the same, current details. Put a QR code on anything printed.
7. Plan the gate before you sell
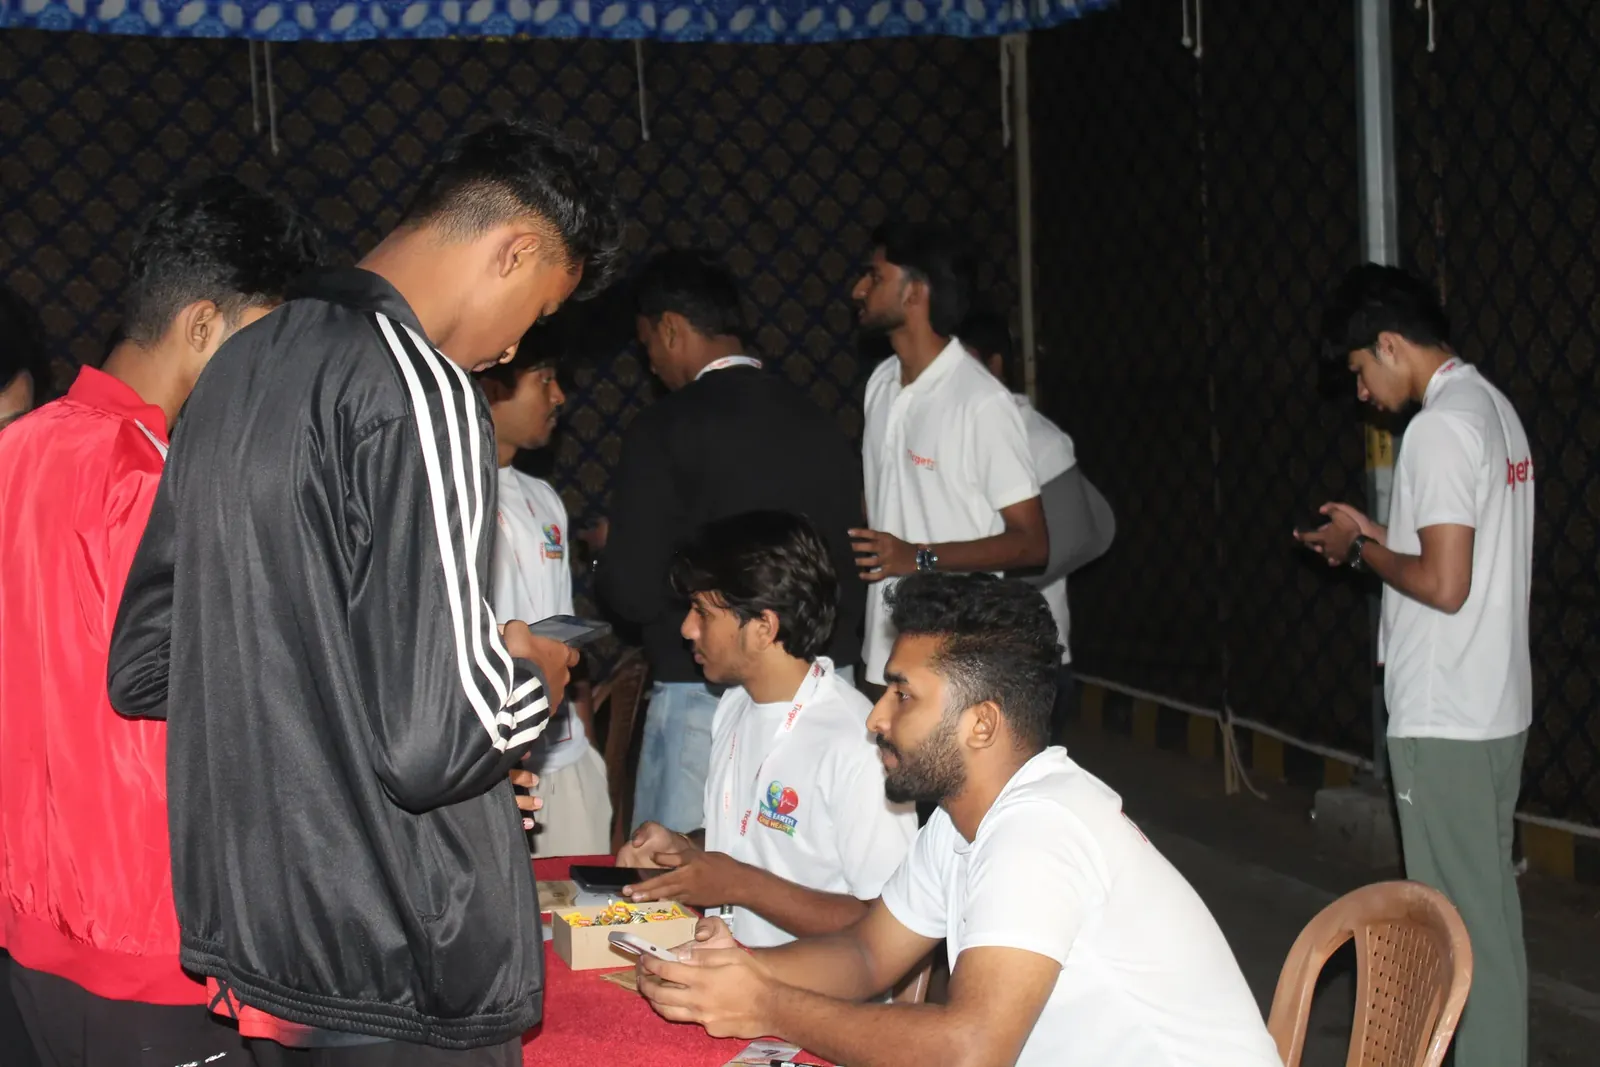
How many entry points will you run? Is there a second check, like a wristband desk or a goodie counter? Who's scanning, and on what? Answering this now changes how you set up tickets, not the other way round.
8. Plan the day after
Decide where photos will go and who needs the attendee list afterwards, whether that's a sponsor, a caterer or your own next event. Export it while the event is fresh.